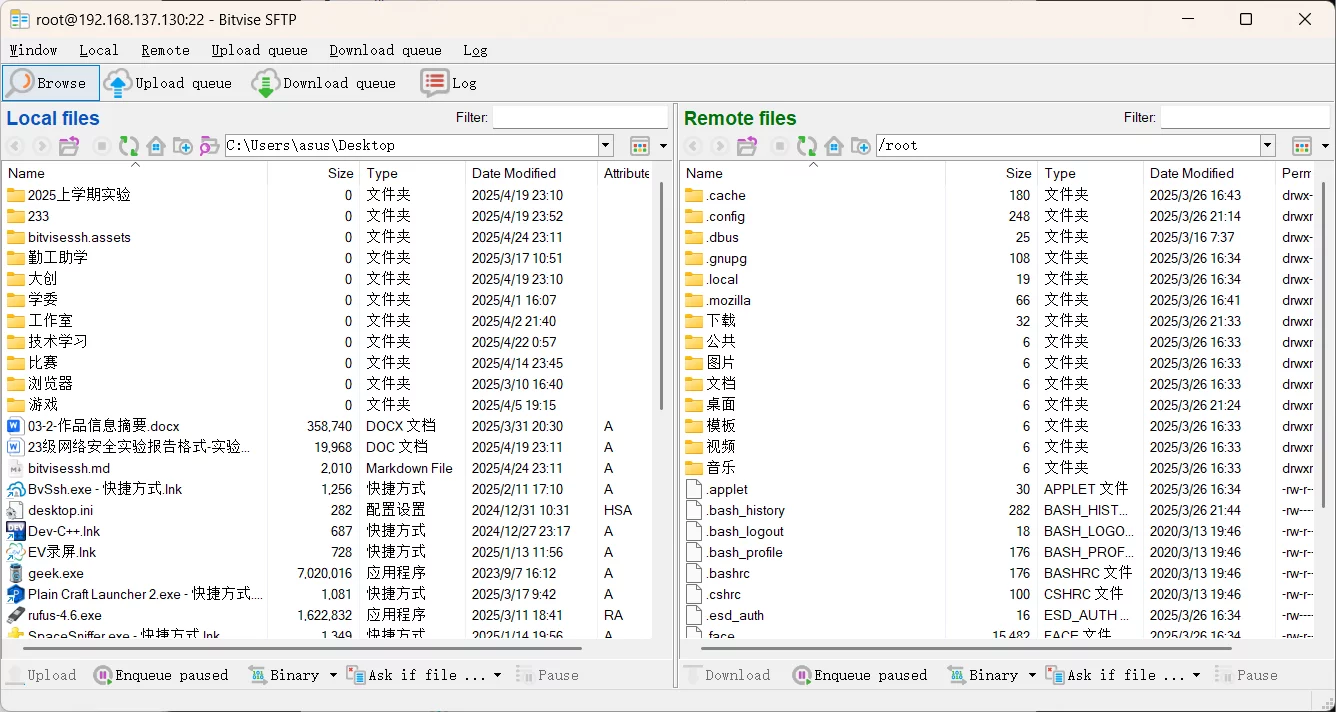
Bitvise SSH Client is a powerful tool for port forwarding and is widely considered one of the best SSH clients for Windows. It is packed with features, supporting SOCKS4, SOCKS4a, SOCKS5, and HTTP proxy tunneling protocols, as well as PEM certificates. When you log into a remote Linux server, it automatically opens a window that makes managing local and remote files incredibly easy and convenient.
Bitvise SSH Client allows you to connect to SFTP servers just like you would with a regular FTP client. It creates a secure "tunnel" to the server via an SSH connection to keep your data safe. While it might be a bit advanced for absolute beginners, it offers a much more professional environment and set of features than older tools like PuTTY. It balances high-end functionality with a clean interface to create a unique user experience.
Key Features
Automatic File Saving: If you use command-line arguments to change file content, the graphical client won't annoy you with "save" pop-ups after closing.
Improved Remote Desktop: Fixed an issue where logging in with local account credentials via SSH would sometimes fail.
Better Terminal Display: Fixed cursor position bugs in terminal protocols (non-bvterm).
Windows 10 Compatibility: Fixed a sync issue caused by Windows 10's "automatic line wrapping" feature. The client now automatically manages terminal wrapping to ensure the connection between your PC and the server stays perfectly in sync.
Installation Guide
Check the box to agree to the terms.
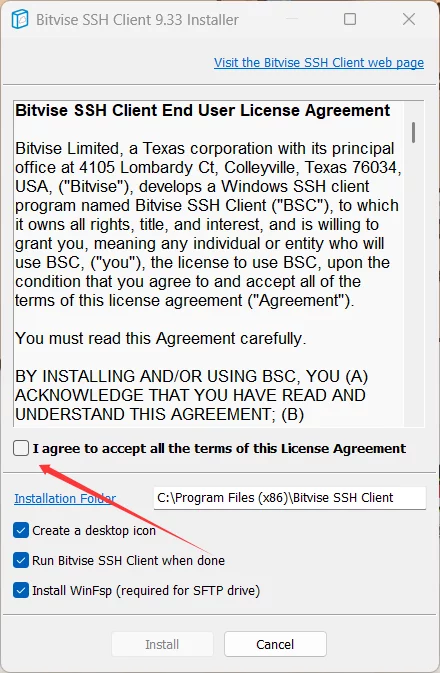
You can click "Installation Folder" to change where the program is saved, though the default is usually best.

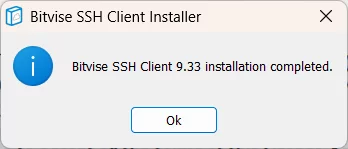
Click "Install." When you see the screen below, the installation is finished.
How to Use
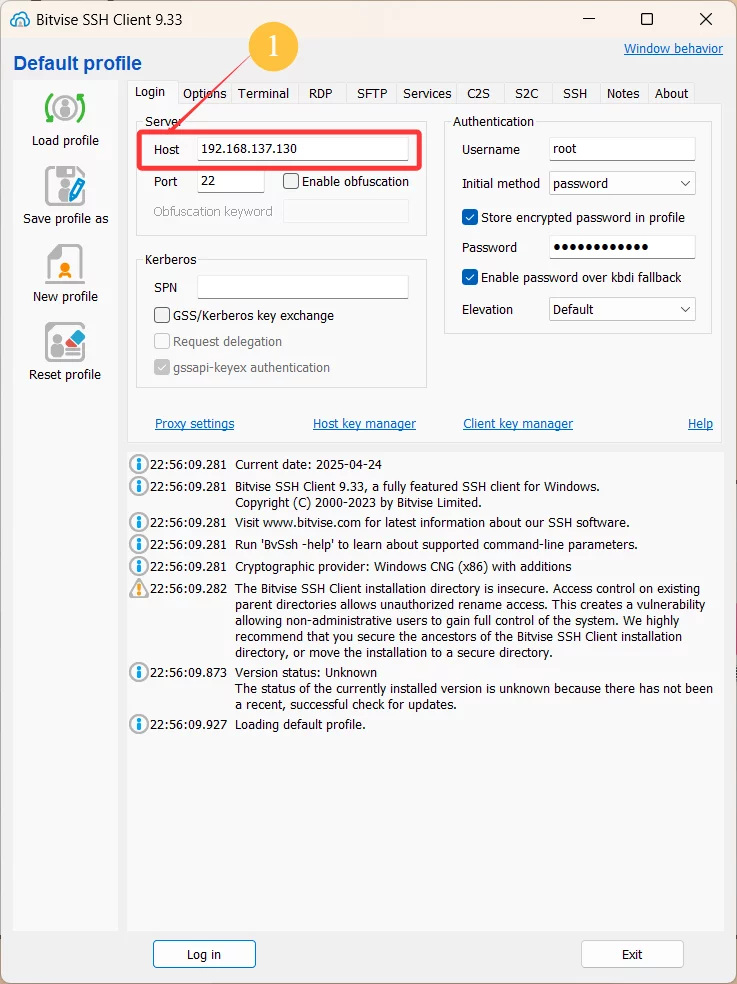
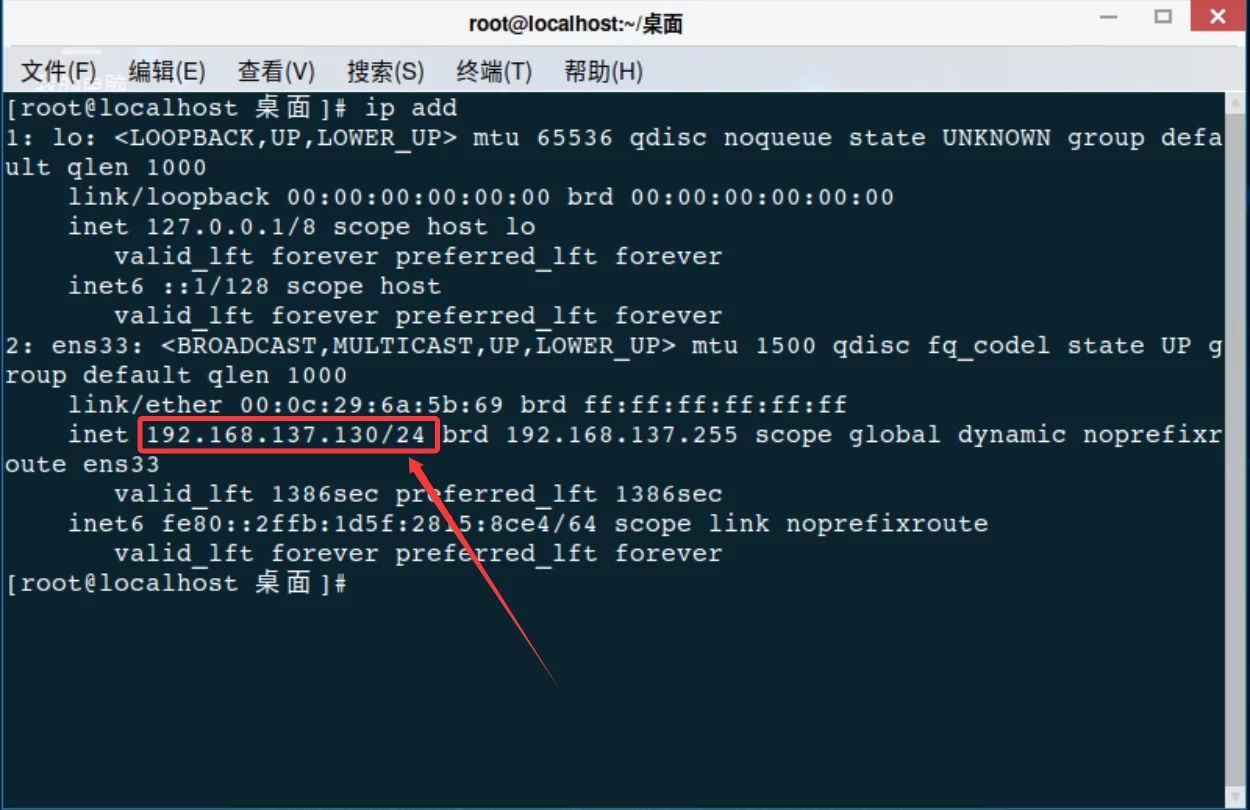
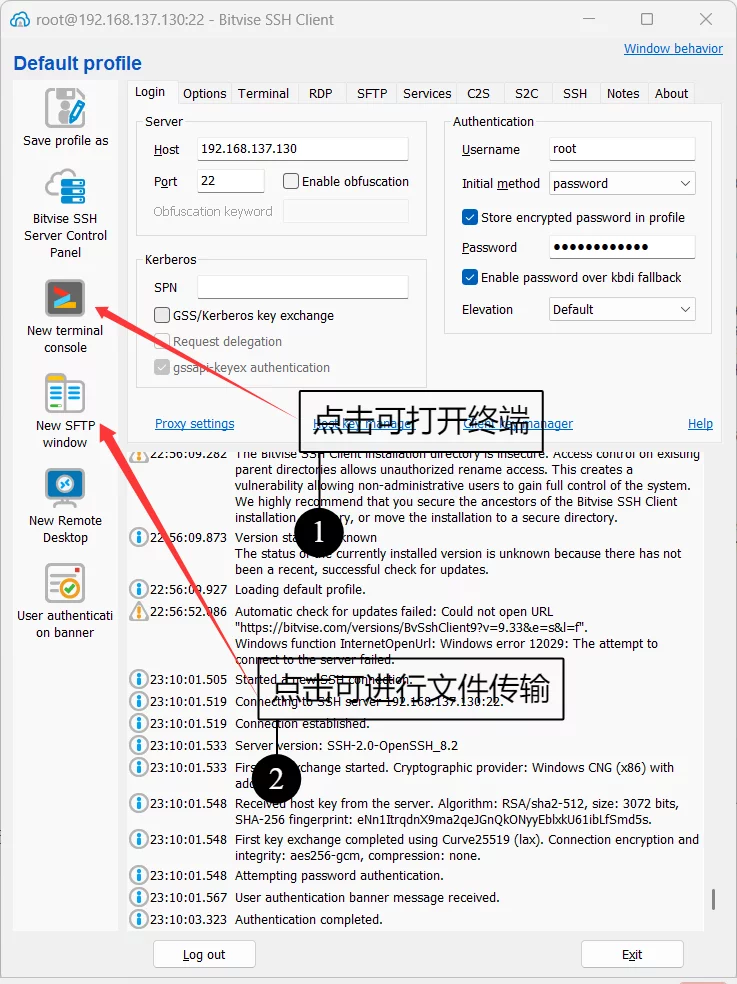
Step 1: Enter your Virtual Machine's (VM) IP address. You can find this by typing the command "ip add" inside your VM terminal.
As shown, the command reveals the IP address needed for the connection.
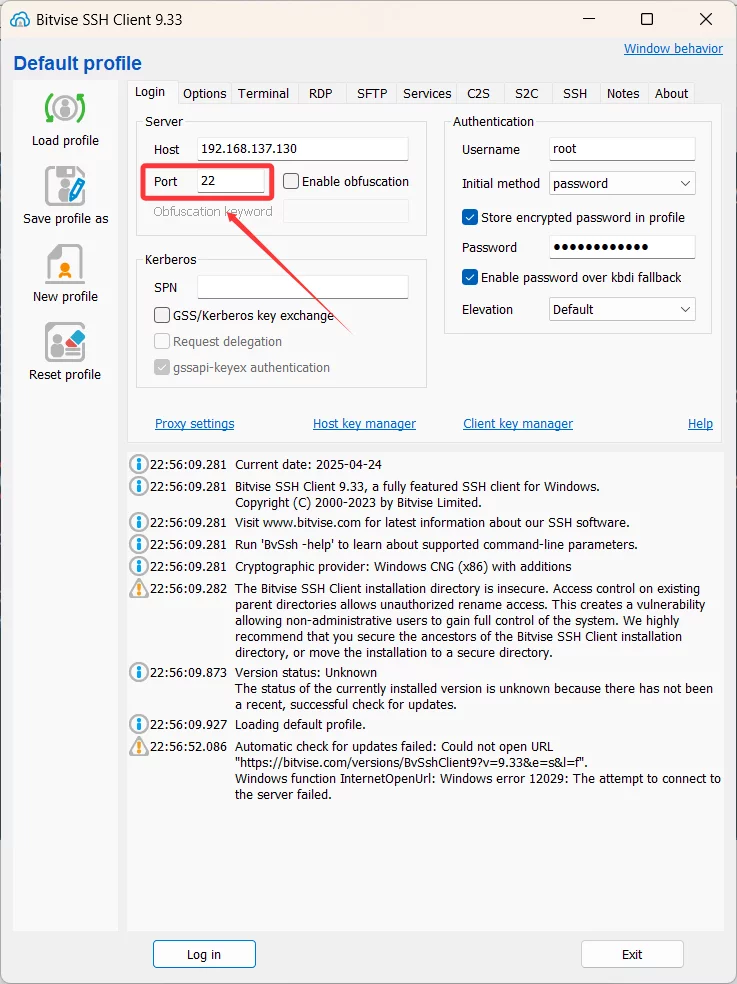
Step 2: Keep the Port at the default 22 unless you have a specific reason to change it.
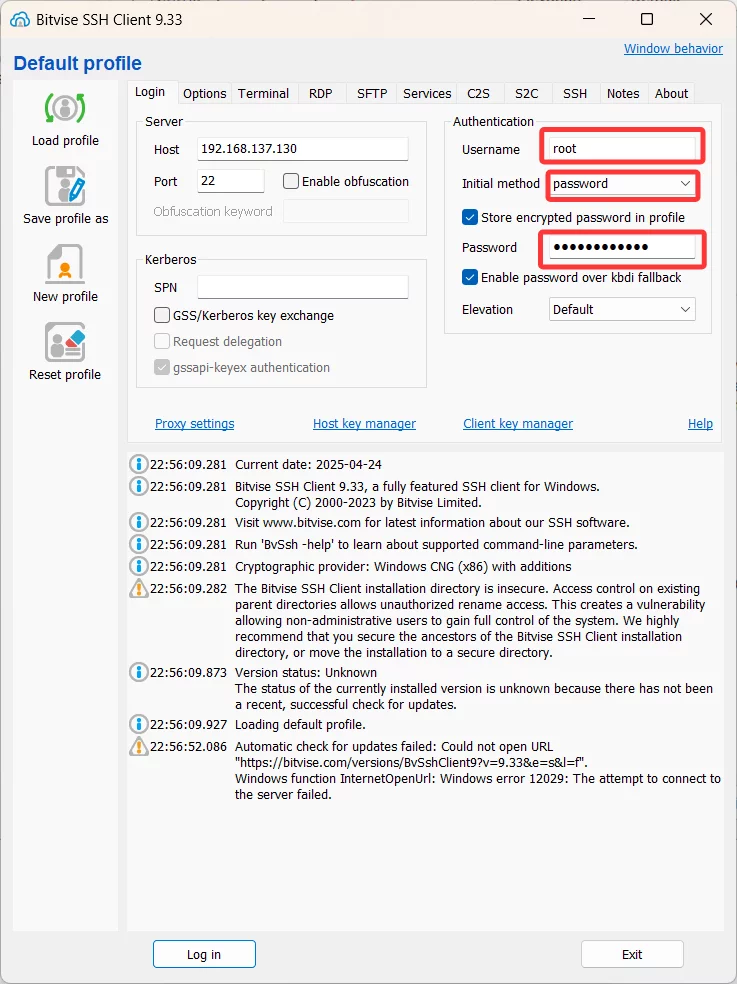
Step 3: Enter the Username of your server or VM. Set the "Initial Method" to password and enter your secret password.
Step 4: Click the "Log in" button.
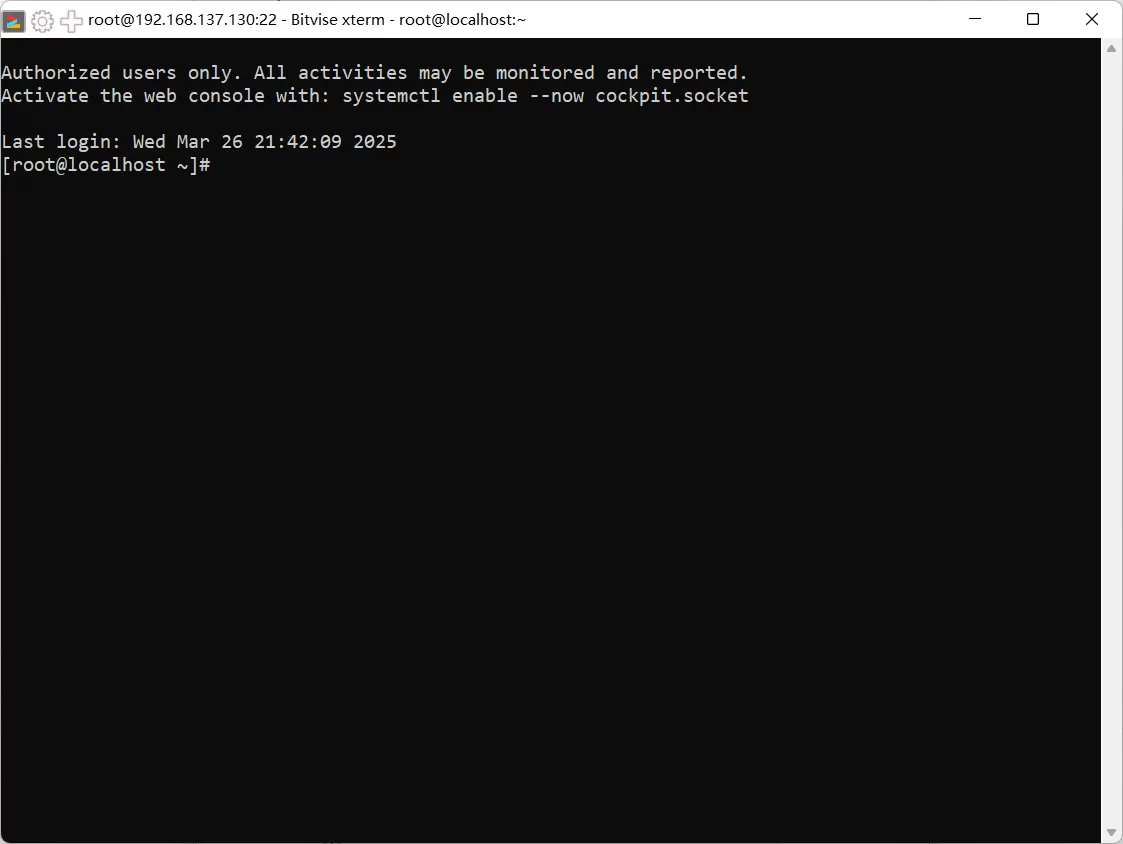
Step 5: Once connected, you can open the file manager window.
The left side shows your Windows files, and the right side shows your remote Linux files. You can now drag and drop to transfer them.