How to Record Screen with OBS Studio (Step-by-Step Guide)
Before We Start: Why I Wrote This Guide
When I first started using OBS Studio, I ran into quite a few obstacles. The first time I opened the software, I was overwhelmed by all the buttons and options, and had no idea where to begin. After a few rounds of trial and error, I finally figured out that screen recording in OBS only requires getting a few key steps right. This guide is a collection of the workflow I worked out through that process, covering everything from installation to recording your first video, with each step laid out as clearly as possible.
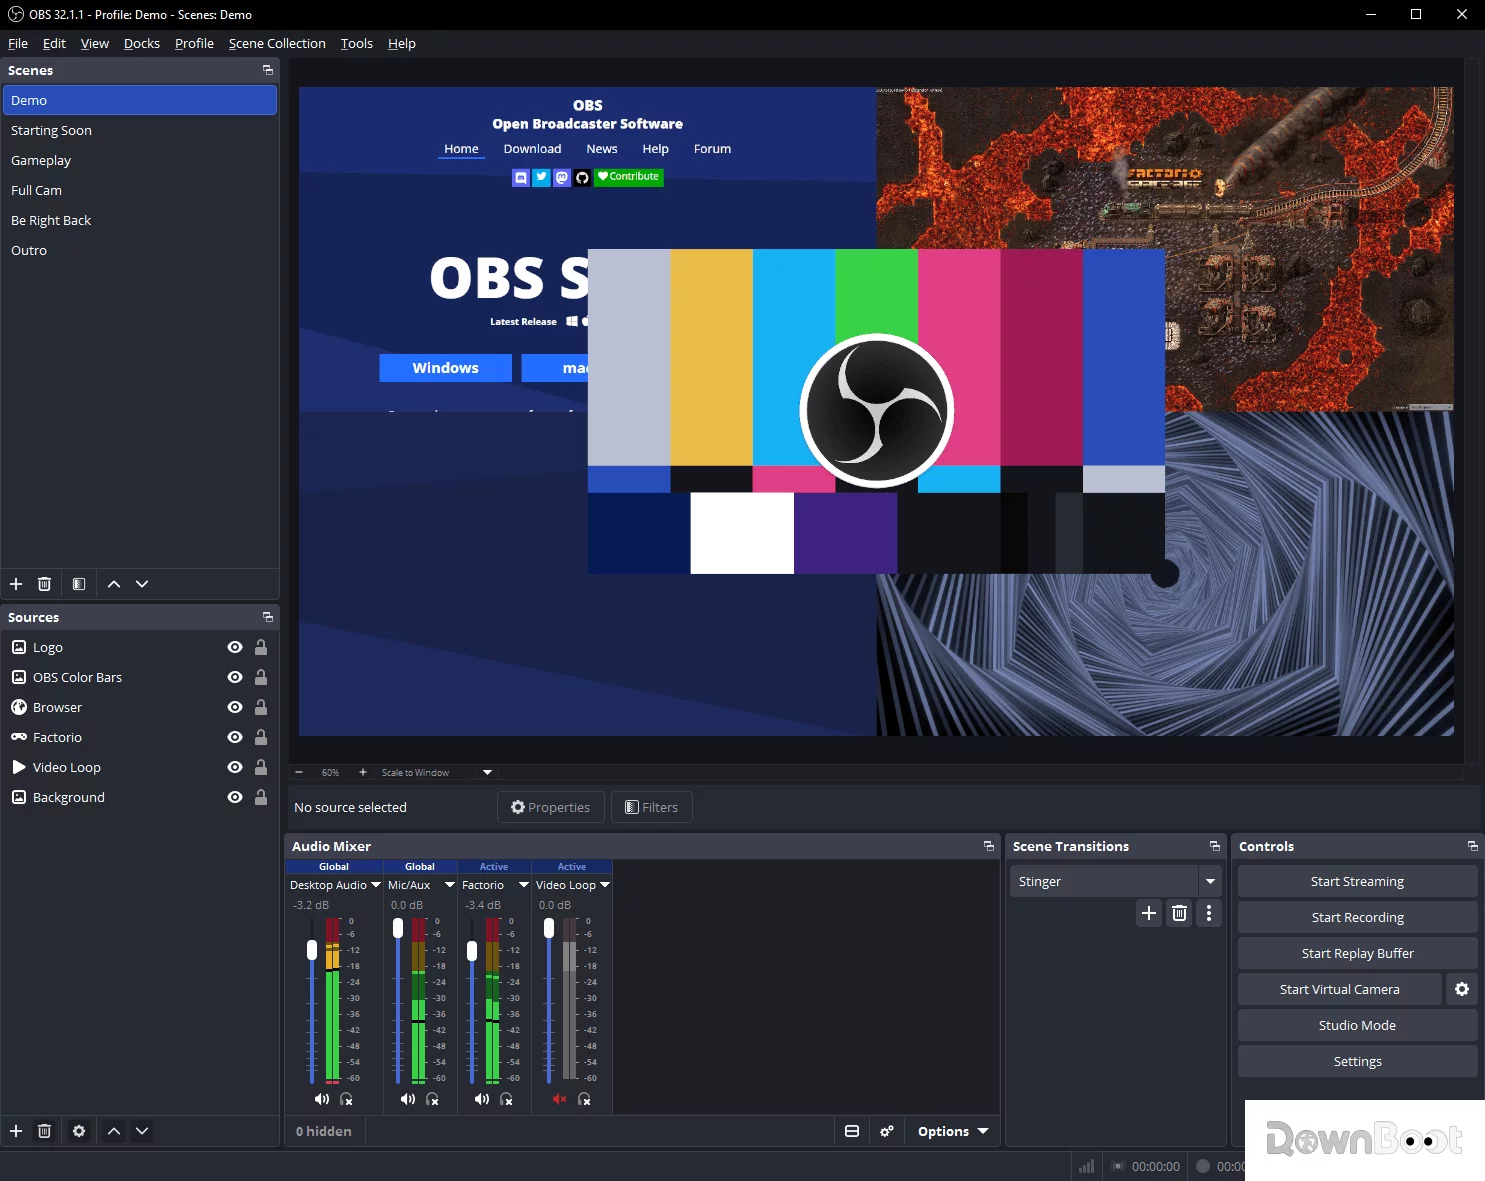
Step 1: Download and Install OBS Studio
Head to the OBS official website at obsproject.com – it should automatically detect your operating system. If you're on Windows, download the .exe installer; Mac users, grab the .dmg file. Once the download is complete, double‑click the installer and follow the on‑screen prompts – it's mostly just clicking "Next". The default installation path is the C drive, but you can change it during setup if you prefer not to install it on your system drive.
When you launch OBS for the first time, an "Auto‑Configuration Wizard" will pop up. If your primary use is screen recording rather than streaming, I recommend selecting "Optimise just for recording, I will not be streaming" and letting OBS handle the basic configuration automatically. This step saves you a fair bit of manual tweaking later on.
Step 2: Create a Scene and Add Sources
OBS revolves around two core concepts: Scenes and Sources. Think of a scene as a canvas, and sources as the content placed on that canvas.
In the "Scenes" panel at the bottom left, click the + button to create a new scene. You can name it "Screen Recording" or anything else you'll remember. Once the scene is created, the next step is to add a "Source" – in other words, tell OBS what you want to record.
In the "Sources" panel, click the + button and a menu will appear. The three most commonly used options are:
- Display Capture: Records your entire screen – ideal for full‑screen demos, tutorials, and general screen recording
- Window Capture: Records only a specific application window, such as a browser, Word, or a particular program
- Game Capture: Specifically designed for recording games, with the best performance optimisation
If you just want to record your whole screen, choose "Display Capture" and select the monitor you want to capture (if you have only one screen, it'll be selected by default). If you want the mouse cursor to appear in the recording, remember to check "Capture Cursor".
After adding a source, you should see your screen in the OBS preview window. If the preview doesn't fill the entire area, right‑click on the source → Transform → Fit to screen.
Step 3: Set Up Audio
Audio configuration is critical when recording – it's all too common to record for a while and realise there's no sound.
Click the "Settings" button in the bottom‑right corner, then go to the "Audio" tab. Here you'll mainly set up two things:
- Desktop Audio: Internal system sounds – like notification pings, browser video audio, game sound effects
- Mic/Auxiliary Audio: External microphone for recording voice‑over narration
Select the device you're currently using from the dropdown menu. If you're unsure which one is which, you can open your system's sound settings to check the current default input and output devices.
After configuring, return to the OBS main interface and look at the "Audio Mixer" panel. Speak a few words into your microphone or play a video, and watch the corresponding volume bars – they should move. If a particular bar doesn't move, it means that device hasn't been selected correctly – go back and double‑check your audio settings.
Step 4: Adjust Recording Settings
This step determines the quality of your recorded video. Go to "Settings" → "Output".
If you're new to OBS, I'd recommend keeping the "Output Mode" on "Simple". In this mode, you just need to pick a "Recording Quality" preset – generally "High Quality" is sufficient for most purposes.
If you want finer control over the video quality, you can switch to "Advanced" mode and then go to the "Recording" tab, focusing on a few key parameters:
- Recording Format: I recommend
MKV. The reason is that if the software crashes or there's a power outage during recording, MKV files won't get corrupted. After recording, you can remux it to MP4 via "File → Remux Recordings" - Encoder: If you have an NVIDIA GPU, choose
NVENC; for AMD, chooseAMF; for Intel integrated graphics, chooseQuickSync. Hardware encoding significantly reduces CPU load. If you don't have a dedicated graphics card, choosex264– it uses your CPU for encoding, which may put some strain on lower‑end machines - Recording Path: Click "Browse" to choose where your videos will be saved. I'd suggest not using the C drive to avoid filling up your system partition
In the "Video" settings:
- Base (Canvas) Resolution: Set this to match your screen resolution (usually 1920×1080)
- Output (Scaled) Resolution: You can keep it the same as the base resolution, or lower it (e.g., to 1280×720) to save storage space
- FPS: For general screen recording, 30 FPS is sufficient. If you're recording games or content that needs smooth motion, you can go for 60 FPS – provided your hardware can handle it
Step 5: Start Recording
Once you've confirmed all your settings, click the "Start Recording" button in the bottom‑right corner. Everything you see in the preview window is what's being recorded – you can minimise OBS and continue using your computer normally without interrupting the recording.
When you're done, click the "Stop Recording" button at the same location. The video file will automatically be saved to the path you set in Step 4.
If you recorded in MKV format and want to convert it to MP4: go to the top menu "File" → "Remux Recordings" → select the MKV file you just recorded → click "Remux". The conversion takes just a few seconds and doesn't require re‑encoding.
Recording Different Types of Content
Recording full screen: Using "Display Capture" is the simplest approach – it records everything on your screen.
Recording games: I'd recommend "Game Capture". To ensure OBS can properly capture your game, set it to "Borderless Fullscreen" mode rather than exclusive fullscreen. If Game Capture doesn't work, try "Display Capture" as a fallback.
Recording a specific window: Use "Window Capture" and select the window you want from the dropdown list. It can capture the window even if it's partially covered by other windows – but it won't record if the window is minimised.
Recording a webcam: Add "Video Capture Device" as a source. If you're recording both screen and webcam, you can shrink the webcam feed and drag it to a corner of the screen to create a picture‑in‑picture effect.
Recording a custom region: Add "Display Capture", then hold the Alt key and drag the red border on the preview to crop out any custom‑sized area you want to record.
Troubleshooting Common Issues
Black screen in recordings? This is the most common OBS recording issue. A few things to try: right‑click the OBS shortcut → Properties → Compatibility → check "Run this program as an administrator"; try switching from "Game Capture" to "Display Capture"; in Windows' "Graphics settings", set OBS to "High performance"; or simply restart OBS.
No sound in recordings? First, check if the volume bars in the Audio Mixer are moving. If Desktop Audio isn't showing any activity, verify that your system's default playback device is correctly set. If the microphone isn't picking up anything, check Windows' microphone permissions to ensure OBS is allowed to access it.
Recordings are laggy or dropping frames? Try lowering the output resolution (e.g., from 1080p to 720p), reducing the frame rate (from 60 FPS to 30 FPS), or switching to a hardware encoder (NVENC/AMF). Also, closing unnecessary applications before recording can free up system resources.
File sizes are too large? Lower the bitrate in the output settings (for 1080p 30fps, 8000‑12000 Kbps is a reasonable range). If you're using Advanced mode, consider using CRF encoding – higher values result in smaller files, but quality will decrease accordingly.
OBS Studio vs Xbox Game Bar: Which One to Choose?
If you only record occasionally, or just want to quickly capture a short gameplay clip, Xbox Game Bar is actually sufficient – just press Win + G to bring it up, with nothing extra to install. But if you need more professional control – such as recording multiple audio tracks simultaneously, adjusting encoding parameters, using picture‑in‑picture with your webcam, or planning to stream in the future – OBS Studio is one of the most mature choices available.
Final Words
OBS Studio is capable of far more than just screen recording, but for most users, mastering the steps above is already more than enough. The entire process, from installation to your first recorded video, takes less than ten minutes. If you run into any issues not covered in this guide, OBS's official documentation and community forums are the most reliable places to turn for help.