FFmpeg Tutorial: Convert Video Formats
Before We Start: Why I Wrote This Guide
When I first started with FFmpeg, I have to admit I was put off – it's a command‑line tool with no graphical interface, just a bunch of parameters. My first thought was: how on earth do you use this? Later, because I needed to deal with video format issues frequently for work, I forced myself to learn it, and I soon realised it's not nearly as complicated as it looks. For basic video conversion, you only need to remember a handful of core commands. This guide collects the FFmpeg commands I use most often, walking you through installation and conversion of common formats, step by step, so even first‑timers can follow along.
Step 1: Install FFmpeg
FFmpeg is free and open‑source, and it works on Windows, macOS, and Linux. The installation method varies depending on your system, so I'll cover each separately.
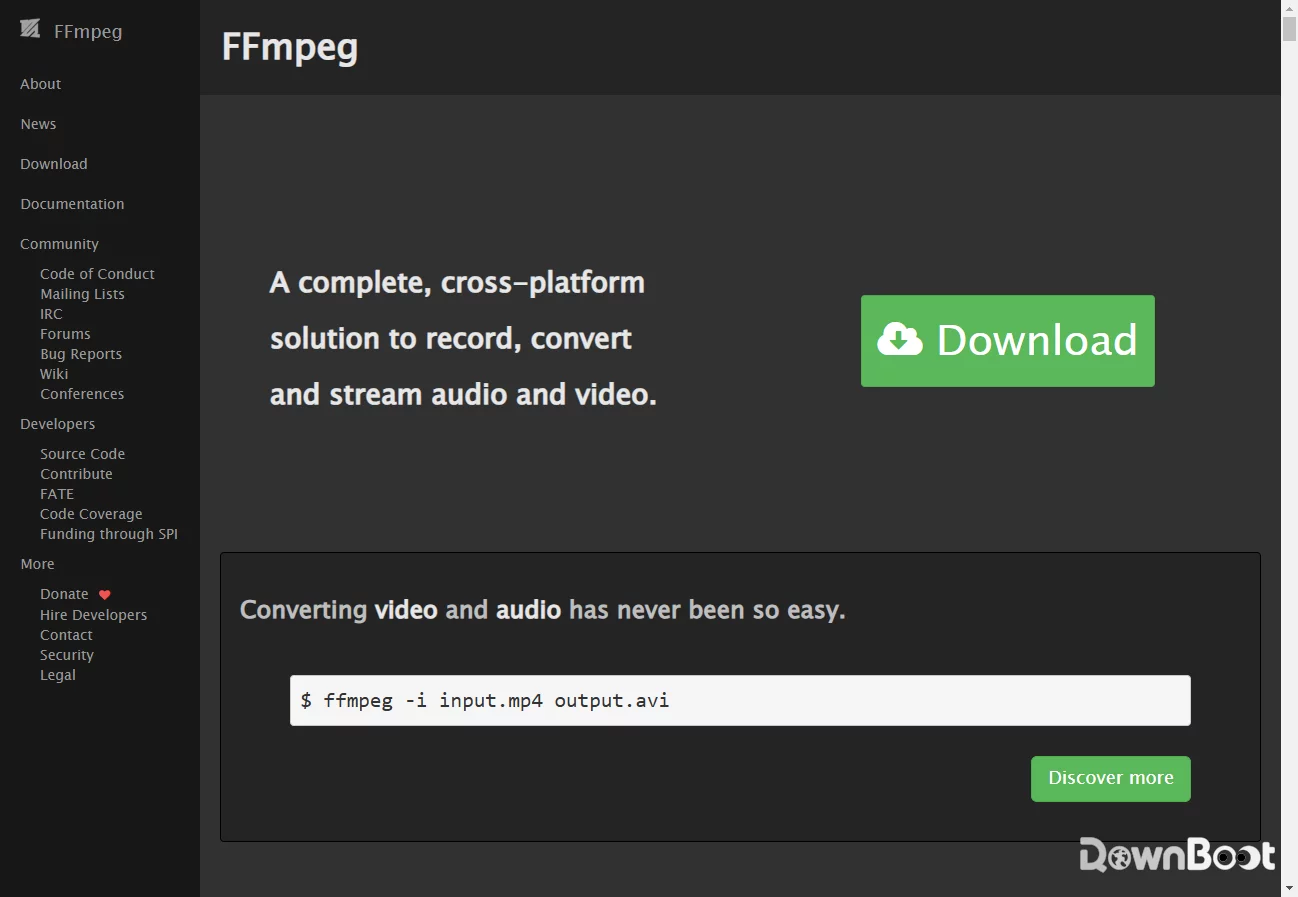
For Windows users: Head to the FFmpeg official website and download the Windows build. Once downloaded, extract the files to a folder, e.g., C:\ffmpeg. Then you need to add FFmpeg to your system's PATH environment variable, so you can run FFmpeg commands from any directory. The steps: right‑click "This PC" → Properties → Advanced system settings → Environment Variables → under "System variables", find Path, double‑click to edit, add a new entry pointing to the bin folder of FFmpeg (e.g., C:\ffmpeg\bin), then click OK all the way. Once done, open a Command Prompt and type ffmpeg -version – if you see version info, it's installed correctly.
For macOS users: If you have Homebrew installed, installing FFmpeg is a one‑liner: brew install ffmpeg. Wait for it to finish, then type ffmpeg -version in Terminal to verify.
For Linux users: On Ubuntu/Debian, run sudo apt install ffmpeg. Other distributions have similar package manager commands.
Step 2: Understand the Basic FFmpeg Command
The FFmpeg video conversion command is actually very straightforward – it has only three essential parts: ffmpeg, the -i option to specify the input file, and the output filename. The basic syntax is:
ffmpeg -i input_filename output_filenameThe output filename determines the format FFmpeg will use – it automatically picks the right container and codec based on the file extension. For example, to convert an AVI file to MP4, you'd use:
ffmpeg -i movie.avi movie.mp4That's all there is to it. FFmpeg handles the video and audio streams, using default encoders. If you're not happy with the defaults, you can add extra parameters to fine‑tune the conversion, which we'll cover later.
Step 3: Common Video Format Conversions
Here are the conversion commands I use most often – they cover almost all everyday scenarios.
MP4 to MKV:
ffmpeg -i video.mp4 video.mkvMKV isn't as widely compatible as MP4, but it supports multiple audio tracks and subtitles, making it ideal for archiving high‑quality footage.
MKV to MP4:
ffmpeg -i video.mkv video.mp4This is one of the most common requests. Many players or platforms don't handle MKV well, so converting to MP4 solves most compatibility issues.
MOV to MP4:
ffmpeg -i video.mov video.mp4Videos shot on iPhones or cameras are often in MOV format. Converting to MP4 makes them easier to upload or share.
AVI to MP4:
ffmpeg -i video.avi video.mp4AVI is an older format – it's bulky and inefficient. Converting to MP4 dramatically reduces file size.
WebM to MP4:
ffmpeg -i video.webm video.mp4WebM is common on the web. If you download a WebM file and want to play it locally or edit it, converting to MP4 is more universal.
Step 4: Lossless Conversion – No Re‑encoding
When you do a regular conversion, FFmpeg re‑encodes both video and audio, which is slow and can degrade quality. If you only want to change the container format without touching the actual video or audio data, use the -c copy parameter to copy the streams directly.
ffmpeg -i input.mkv -c copy output.mp4This command converts an MKV file to MP4 without re‑encoding anything – it just copies the streams. The process is extremely fast, and the output quality is identical to the original. However, -c copy only works if the target container supports the source codecs; if not, FFmpeg will throw an error, and you'll need to re‑encode.
Step 5: Change Video Codec
Sometimes you need to change the codec itself – for example, converting H.265 to H.264 for better compatibility, or the other way around to save space.
Convert to H.264:
ffmpeg -i input.mp4 -c:v libx264 output.mp4Convert to H.265:
ffmpeg -i input.mp4 -c:v libx265 output.mp4H.265 compresses more efficiently than H.264 – same quality, smaller file – but encoding takes longer, and not all devices support H.265 playback. If you're targeting newer devices, H.265 is a good choice; for maximum compatibility, stick with H.264.
Step 6: Compress Video – Reduce File Size
Need to shrink a video file? FFmpeg can do that too. The most common method is adjusting the CRF (Constant Rate Factor) parameter. CRF values range from 0 to 51 – lower means better quality and larger files, higher means worse quality and smaller files. A typical range is 18 to 28 – 18 is near‑lossless, 28 noticeably reduces size with acceptable quality loss.
ffmpeg -i input.mp4 -crf 28 output.mp4If you need more precise control over file size, you can set a specific video bitrate with -b:v:
ffmpeg -i input.mp4 -b:v 1M output.mp4This caps the video bitrate at 1 Mbps – file size drops, but so does quality. Which parameter to use and what value to set depends on your trade‑off between quality and size.
Step 7: Extract Audio from Video
Sometimes you only need the audio – say, you want to turn a lecture video into a podcast, or extract a background track from a movie. FFmpeg makes this easy:
ffmpeg -i video.mp4 audio.mp3This extracts the audio and saves it as an MP3 file. If you prefer a lossless format like FLAC, just change the output extension:
ffmpeg -i video.mp4 audio.flacFFmpeg automatically picks the right encoder based on the output file extension, so simply changing the extension switches formats – very convenient.
Step 8: Batch Convert Multiple Files
If you have a bunch of videos to convert, running commands one by one is tedious. You can use loops in the command line to batch process them.
Windows (Command Prompt):
for %i in (*.mov) do ffmpeg -i "%i" "%~ni.mp4"This converts all .mov files in the current folder to .mp4.
macOS / Linux (Terminal):
for i in *.mov; do ffmpeg -i "$i" "${i%.mov}.mp4"; doneBatch conversion saves a huge amount of repetitive effort – definitely worth memorising if you handle large numbers of files regularly.
Troubleshooting Common Issues
“ffmpeg is not recognized as an internal or external command.” This means FFmpeg isn't in your system PATH. Double‑check your PATH configuration, make sure the bin folder path is correct, and remember to restart your command prompt after making changes.
Conversion fails with an error like “Invalid data found”. This usually means the input file itself is problematic – possibly incomplete or corrupted. Try playing the file with another player to confirm it's intact before trying again.
The converted video has no audio. This could be due to an issue with the input audio stream, or FFmpeg might not be handling it correctly. You can explicitly specify an audio codec, e.g., -c:a aac to force AAC encoding.
Conversion is very slow. If you're using CPU‑based encoders (x264/x265), it's expected to be slower. If you have an NVIDIA GPU, try hardware encoding with -c:v h264_nvenc – it's much faster. Lowering output resolution or frame rate can also speed things up.
FFmpeg vs GUI Conversion Tools
You might wonder: since there are plenty of graphical converters out there, why use the command line? I think they serve different purposes.
GUI tools (like HandBrake, Format Factory) are intuitive – open the app, select files, choose a format, click start – no commands to remember. For occasional conversions, they're perfectly fine.
FFmpeg's strength is flexibility and efficiency. You can control every detail of the conversion – codec, bitrate, frame rate, resolution, sample rate – almost nothing is off‑limits. And because it's command‑line, you can integrate it into scripts for automation. When batch‑processing large numbers of files, it's far more efficient than any GUI tool.
If you only convert videos once in a while, a GUI tool is fine. If you work with video regularly, or need batch/automated conversions, FFmpeg is well worth the learning curve.
A Few Final Words
FFmpeg can do far more than just convert formats – it can also cut, merge, record, stream, and more. But for basic video conversion, the commands above are already enough to handle most everyday needs. From installation to your first converted video, it doesn't take much time. If you run into any issues not covered here, the official FFmpeg documentation and community forums are the best places to look – they're full of tips and solutions from other users.